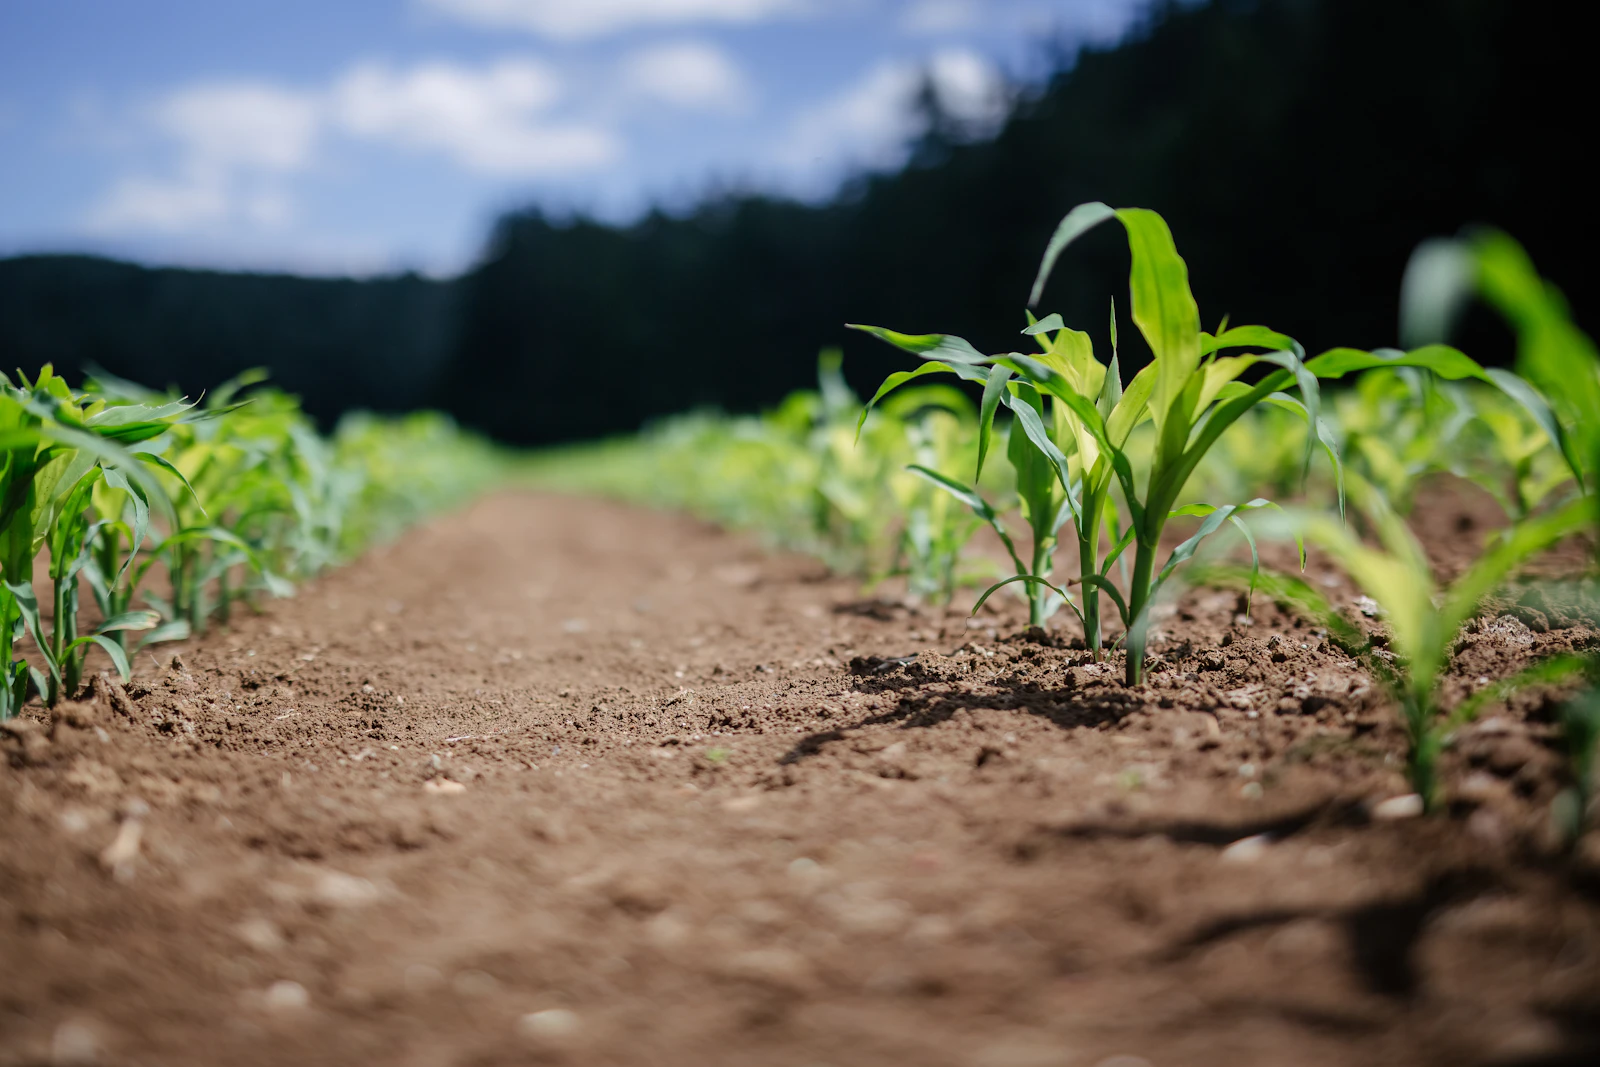
A grower pulls up a yield map from a field planted at one flat population and sees a weak band along the creek and a strong band on the knoll, yet seed cost per acre was identical. Returns were not. That gap is the case for variable rate seeding.
Variable rate seeding adjusts planting population to what each part of a field can support. It needs good zones. Without them it is guesswork.
Why Seeding Rate Should Follow Soil Capacity
A plant needs water, nutrients and light, and a soil with less capacity to supply them cannot carry the same stand as a deeper, wetter soil. Crowding is costly. Overplanting a thin zone sends more plants after the same limited moisture.
Underplanting a strong zone has the opposite cost, because the soil could have supported more plants than the planter placed. Both errors come from one rate. Zones fix that.
Quick Tips
- Build zones from at least two data layers, such as yield maps and soil electrical conductivity.
- Change the rate in small steps between zones instead of large swings.
- Keep one fixed-rate strip in each field to check the result.
- Review zones after any wet or dry extreme season.
The logic is simple even if the setup is not. Seed is a real cost, and it earns the most where the response is strongest. Shift it toward those zones.
Building Zones That Reflect Real Differences
Zones usually come from layered data, including several years of yield maps, soil electrical conductivity, elevation and soil survey units. One season misleads. Weather can mask the soil effect completely.
Three or more seasons give a steadier picture of which parts of a field are consistently high or low. Compare it with other layers. Agreement between layers is the signal you want.
Keep the zone count low. Three to five zones often capture the real differences without producing a prescription that is hard to plant. More is not better.
Too many zones add noise and push the planter to change rates faster than it can. Expect lag. Fields with abrupt boundaries, such as a sand ridge beside heavy clay, benefit most.
| Data layer | What it shows | Main limitation |
|---|---|---|
| Multi-year yield maps | Consistent high and low areas | Needs clean, calibrated monitor data |
| Soil electrical conductivity | Texture and water-holding differences | Affected by soil moisture at scan time |
| Elevation and slope | Drainage and runoff patterns | Does not show soil depth |
| Soil survey units | Broad soil type boundaries | Coarse resolution for small fields |
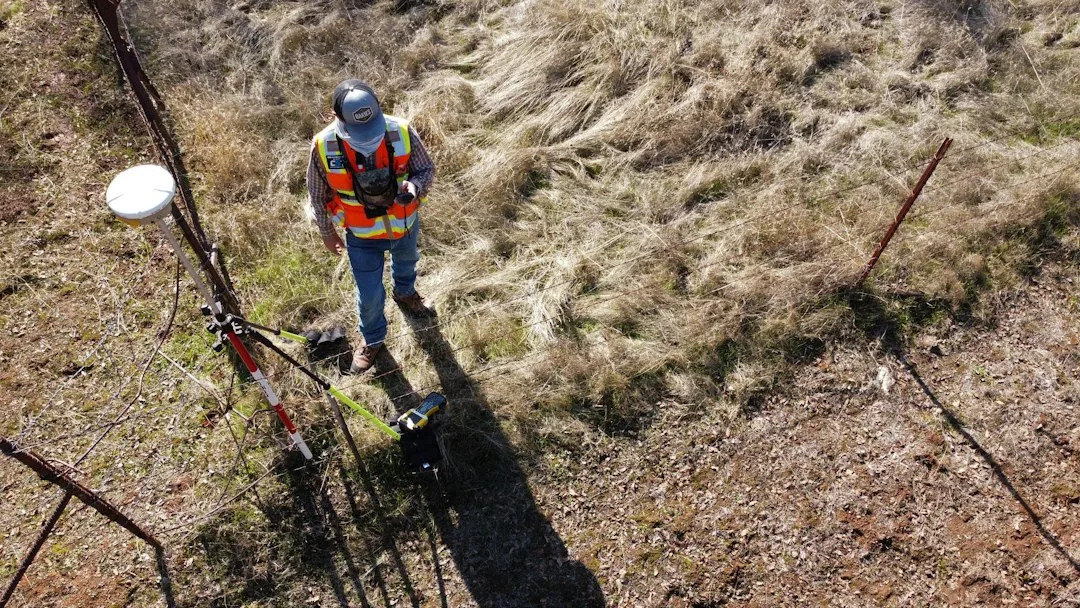
Soil tests confirm what the other layers suggest. A consistent soil sampling schedule ties zone boundaries to measured fertility and pH. Test results beat guesses.
Organic matter matters as well, since building soil organic matter raises water-holding capacity over time. That can lift a zone's ceiling. Revisit boundaries as the soil changes.
The Biggest Mistake Producers Make With Zones
The most common mistake is drawing zones from one wet or dry year and treating them as permanent. It happens often.
Take a low-lying area that drowned out in a very wet spring and looked like the worst ground on the yield map. The rate gets cut. Then the weather changes.
In a normal or dry year, that same area holds moisture and out-yields the rest of the field, so the lower rate now costs yield instead of saving seed. Weather can reverse a zone's ranking. Check each zone against several seasons first.
Variable Rate Seeding Economics Before You Commit
Returns come from two places, seed saved on weaker zones and yield gained on stronger ones. Both are estimates.
For example, if a fifth of a field sits in a low-capacity zone and the rate there drops by a few thousand seeds, the savings add up across those acres. Size depends on seed price. Expensive seed raises the savings from trimming.
The yield gain on strong zones is harder to predict and varies by season. Treat both numbers as estimates. Your own strips will tell you more than any average.
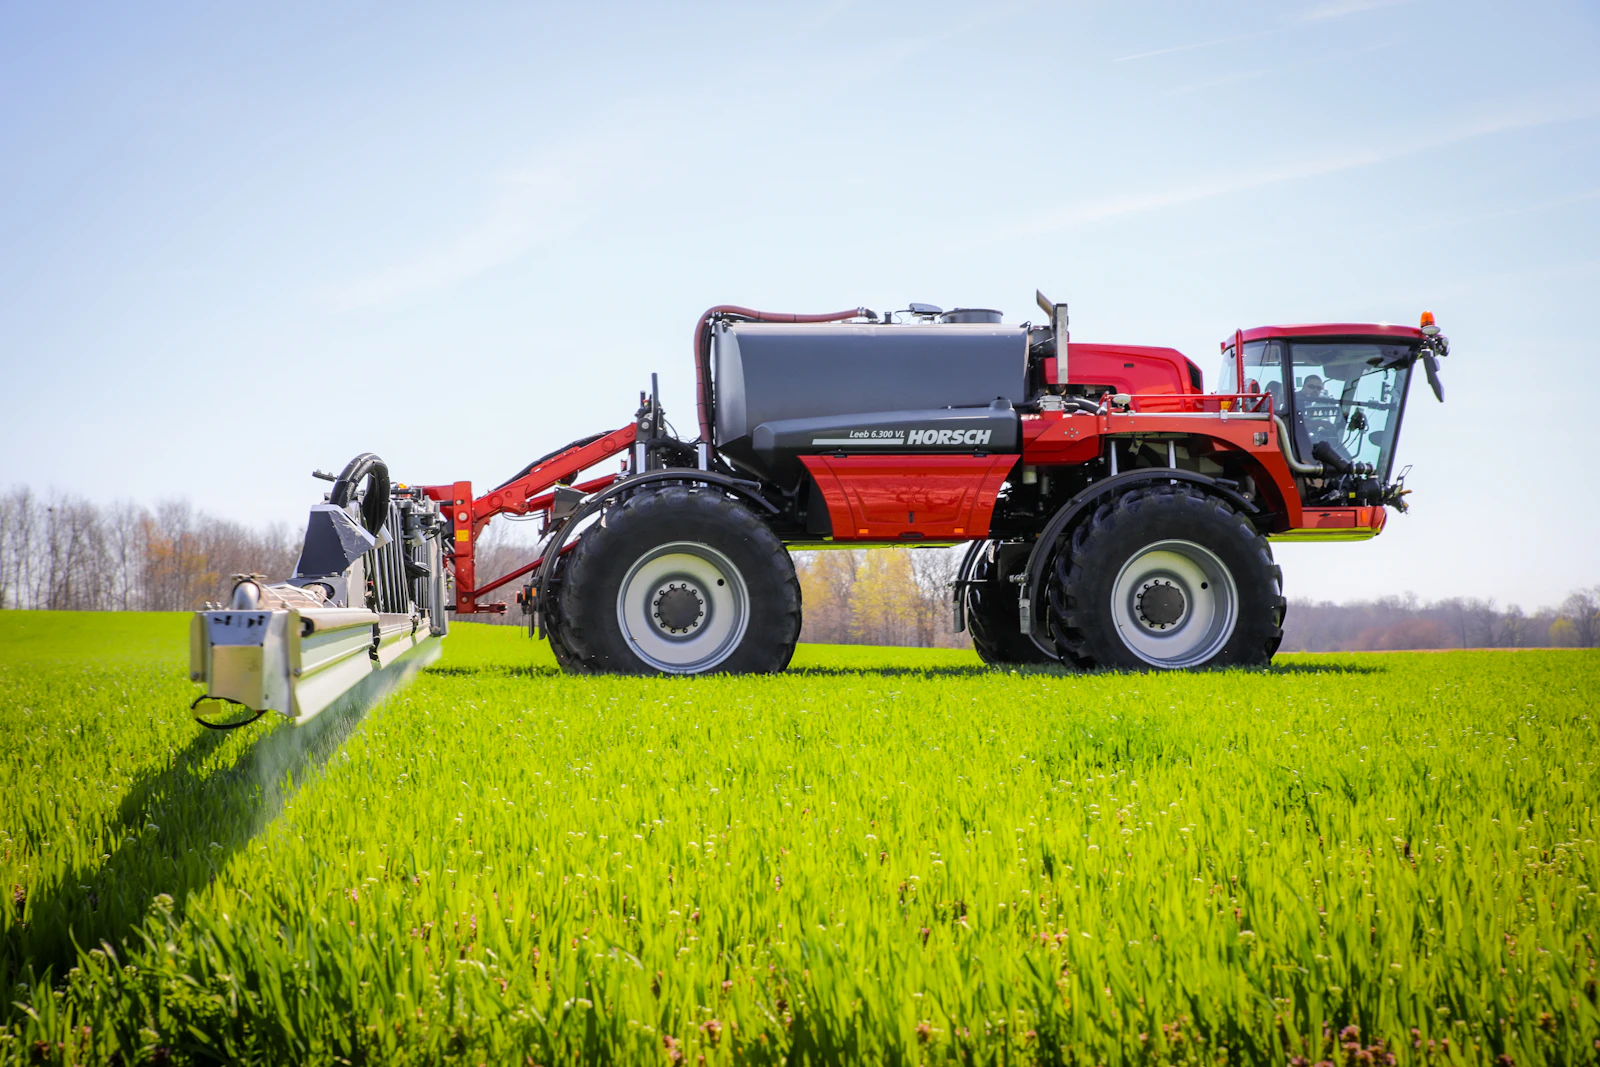
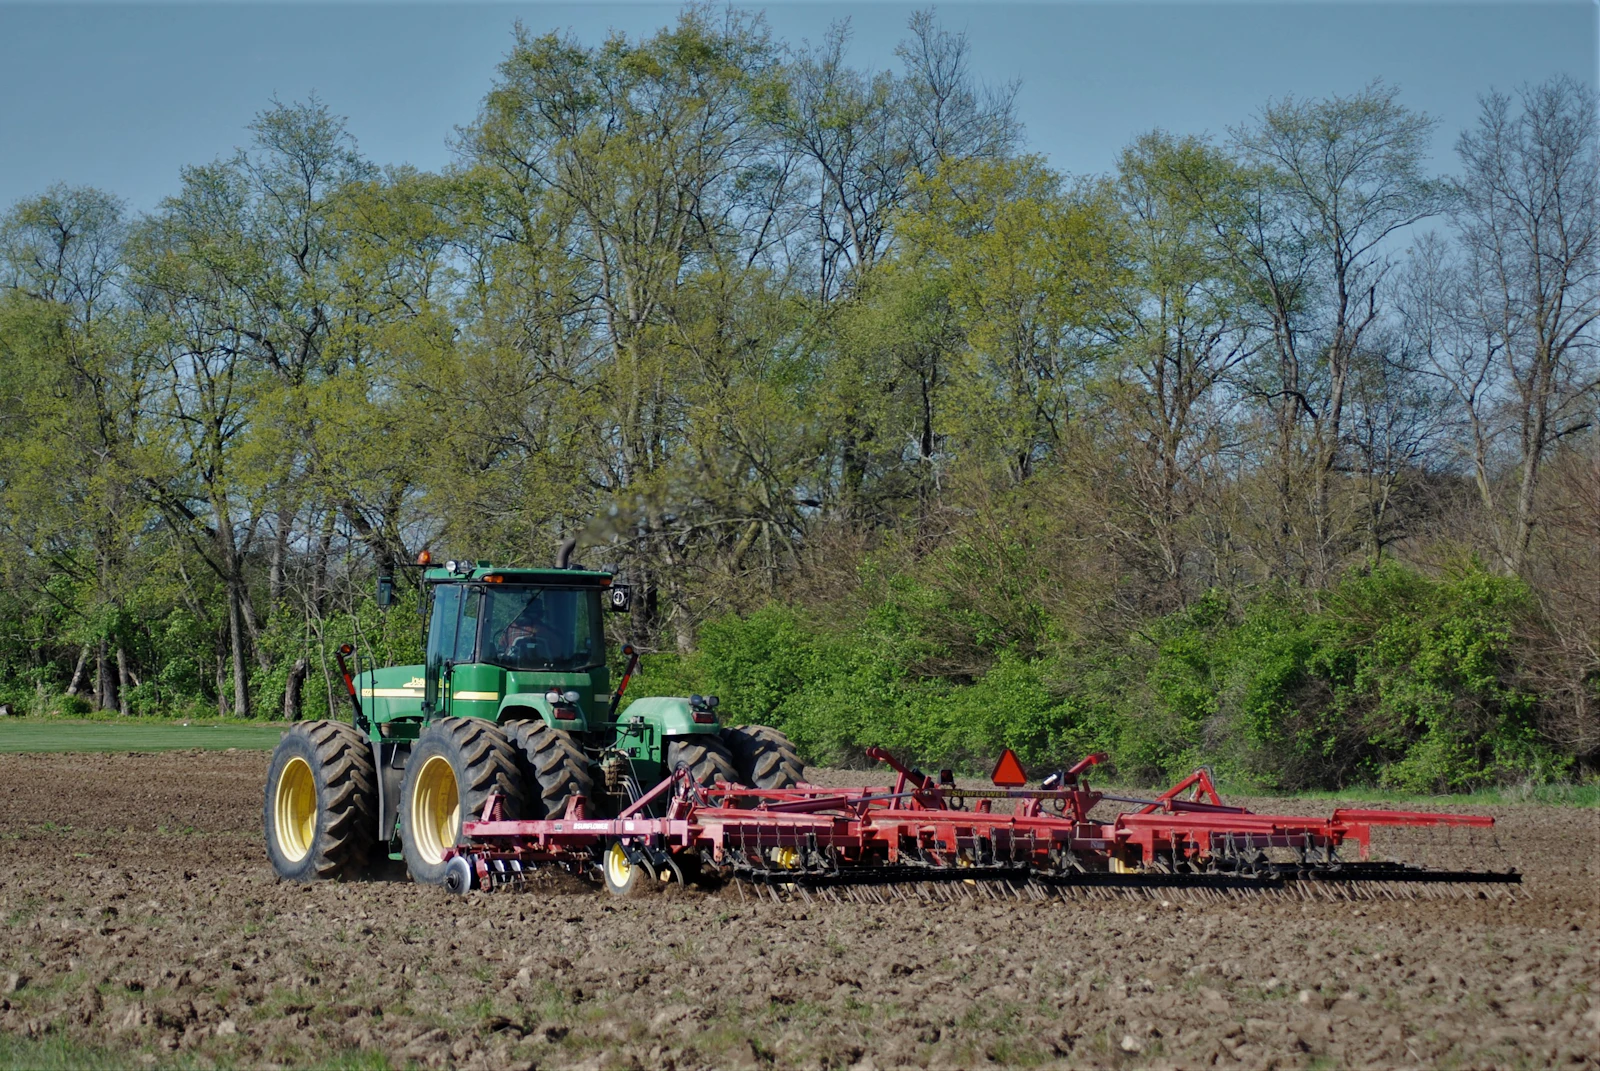
Equipment matters too, since you need a planter with rate control and a prescription file. Older planters may need an upgrade. Spread that cost over every acre it will cover.
Testing and Adjusting Your Prescription
Leave a fixed-rate strip across each zone so you can compare it with the prescription at harvest. Use calibrated yield data. Compare strips side by side, not across the whole field.
One season of results is a start, not a verdict, because weather will shift the answer from year to year. Keep running the test. Patterns appear after a few seasons.
Record the rates, the planting date and the hybrid or variety on every pass. Those notes let you separate the seeding effect from everything else. Without them, results blur together.
Stand counts at emergence show whether the planter delivered the prescription. A drive that lags on rate changes blurs the edges between zones. Check early, while a fix is still possible.
Fitting Seeding Rates Into the Whole System
Seeding rate interacts with hybrid choice, planting date and fertility, so changing one alone can hide the result. Track each change.
A hybrid with strong stress tolerance may handle higher populations on tougher soils than one that needs more room. Check trial data. Seed company trials and university recommendations give sensible population ranges.
Start with one field and a modest rate change. Learn what the data says. Then expand to the next field.
Yield context helps you judge whether a result is unusual. The crop yield data hub shows current USDA numbers by state and crop. Use it to compare your fields with the wider picture.
Frequently Asked Questions
What is variable rate seeding?
Variable rate seeding changes the planting population across a field based on a prescription map. The goal is to place more seed where the soil can support it and less where it cannot.
How many years of data do I need to build seeding zones?
Three or more seasons of yield data give a more reliable picture than a single year. Pair them with soil electrical conductivity or elevation data to confirm the pattern.
Does variable rate seeding pay off on every field?
It tends to pay most on fields with large differences in soil texture, drainage or water-holding capacity. Uniform fields often show little benefit, so check your yield maps first.
What equipment do I need for variable rate seeding?
You need a planter with rate control, a GPS-based controller and a prescription file. Some older planters can be upgraded, but the cost should be spread across the acres it will cover.
How do I know whether my prescription worked?
Leave a fixed-rate strip across each zone and compare it with the prescription at harvest. Use calibrated yield data and repeat the test over more than one season.